Showing posts with label DIY. Show all posts

Sunday, 9 December 2012

Finito!


Earlier this week, I headed to Robert Dyas and bought my weight in 3M Hanging Strips. I was so nervous about our huge mirror dropping off the wall that I didn't want to take any chances. It was well worth it, if only for the looks I got off the lady who rang me up on the till.

After creating an acne-like covering of velcro on the back of the mirror (I ended up using about 15 strips), I stuck it in place. I held it there, putting pressure on the wall for what felt like an age, until I finally worked up the courage to remove [just one] hand. Slowly I moved the other, and the mirror remained on the wall.

Stepping off the step ladder, I refused to take my eyes off the mirror, and even hours later I waited for the crash....but it never came.

Result!


You may have noticed that I tweaked the hangy - bit (technical term) at the top of the mirror. I much prefer it now than before - less is more I think in this case.

And with the successful hanging of the mirror, I declare the hallway done. Here it was when I came home one afternoon and thought to myself "ick"...


And here she is now in all her bright white, striped ceiling splendor.


Gone are the dingy peach walls. The hallway now feels more inviting, and the ceiling draws the eye up upon entering the flat. The shoe cabinet is still too large for the space, but unfortunately there is not much I can do about that.


And yes...that is a Game of Thrones book. I promise you, for the bottom of my heart, that isn't mine.


Sunday, 2 December 2012

Feeling a bit Rope-y


It is seriously hard to photograph a mirror. Apologies in advance for the shoddy images.

Those of you who follow me on instagram may have noticed my Ikea visit on Friday.

I was initially on the hunt for the 55cm Ikea Kolja mirror, but after spotting the larger version for only £1 more I was sold. The larger scale, I thought, was a much better fit for the space above my shoe cupboard.

Earlier today, armed with my new mirror, some rope, and a bit of cardboard, I got started. Although inspired by the images below, I mainly ended up making it up as I went along.


First I measured out a circle, about a half inch smaller than the diameter of the mirror on cardboard. I then measured out a second larger circle to create a cardboard ring and cut it out.


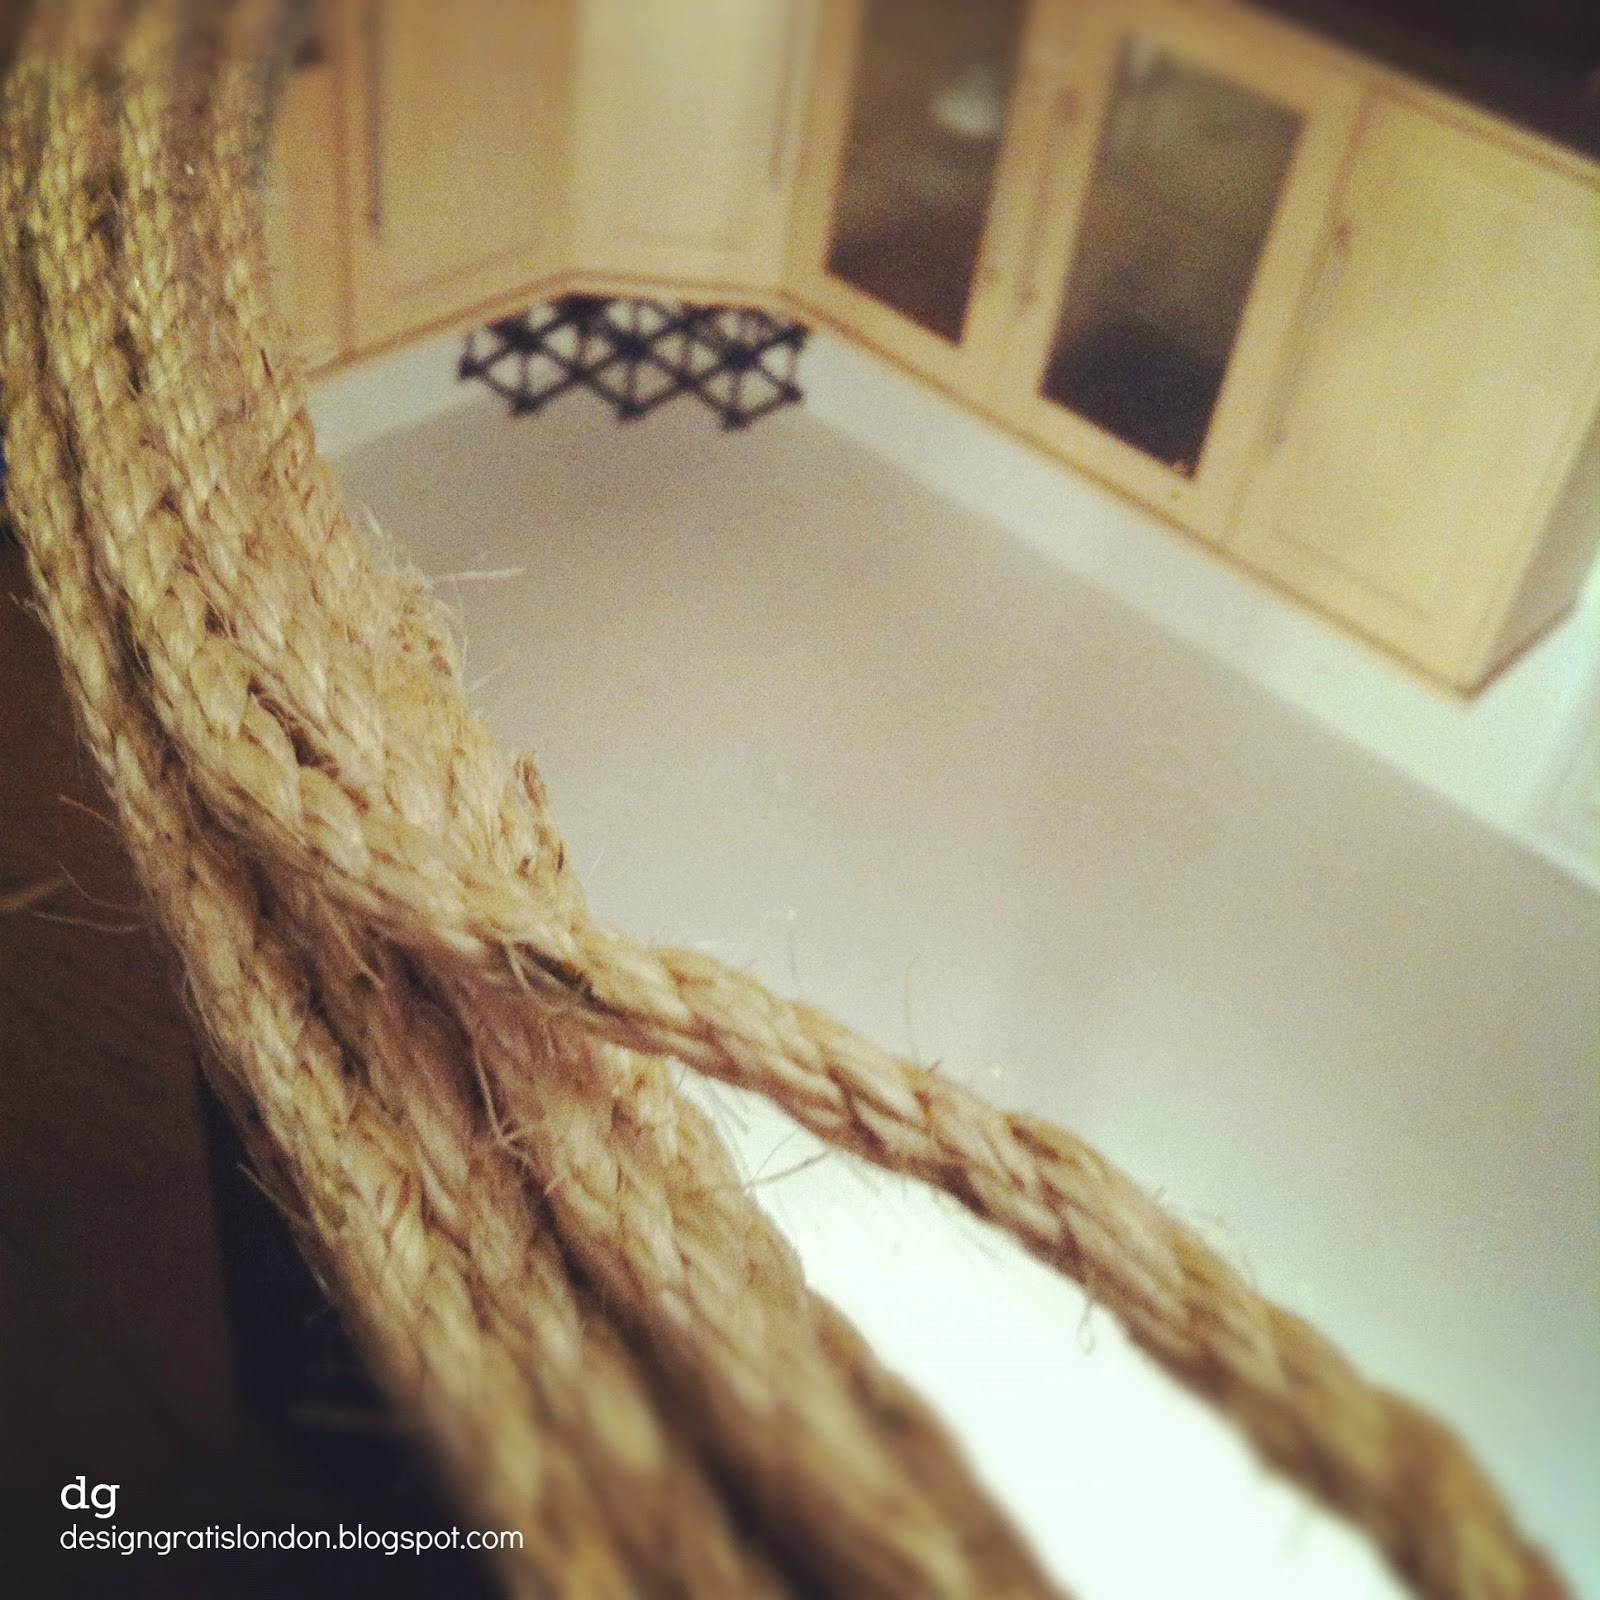
Using a hot glue gun, I attached the cardboard ring to the surface of the mirror and then began gluing the rope to the cardboard.


My rope was thinner than I wanted so I glued many layers to chunky it up a bit.


 I then measured 4 corners and wrapped hemp string around the rope (and cardboard) at these points.


Lastly, I created a sort of hanging handle at the top...


 I've not hung it up yet...but I did lean it against the wall of it's future home just to have a look.


If you're wondering just how I plan to hang it, then that makes the both of us.

After a halfhearted, unsuccessful attempt at trying to find the stud in the wall, I'm thinking I may just whack 15 or so 3M Command Hanging Strips on the back and cross my fingers.

Sunday, 25 November 2012

Looking Up

I thought I was so clever when I decided to paint the ceiling, but after taping off the first stripe I quickly realised how time consuming and painful the process would be.

First of all, my convenient little step ladder proved less than adequate when factoring in the ceiling height and my own [lack of] height. Put simply, I could barely reach it.

I had a brilliant idea to wear my biggest heels whilst on the step ladder to remedy this problem (health and safety, eat your heart out), but even I'm not that stupid (of course I tried it, but balancing was a challenge). In the end, I resorted to stretching on my very tippy toes.

After about 15 minutes, first stripe finally taped off, the pain in my neck was immense. This was when I decided:

a) To reduce the quantity of stripes and increase the space in between. No brainer.
b) Measure, shmeasure. We don't have one straight wall, or level floor in this ancient flat, so measuring turned out to be a huge waste of time. I ended up eyeballing and winging the entire thing.

Here's a peek of how it turned out, though I still need to touch it up a bit.


I would like to add in my very best American infomercial salesman voice, "BUT WAIT, THERE'S MORE"!

I also wanted to tackle the bland space above the shoe cabinet. In an ideal world, I would just throw this up there -


But your eyes doth not deceive you, that does indeed say £775. Quite frankly, in the wise words of Kanye West, "That sh** cray."

So I did some internet sleuthing and found this! I'm hoping I can some how marry the two designs and produce my own spin on the hanging mirror.

On another note, I'm really enjoying using instagram. Follow me! (Username designgratis)


Sunday, 18 November 2012

Peach No More


If you read last week's post, you may remember me mentioning that I was having a birthday lunch at Sushi Samba. The above photo is a spectacular view from one of the restaurant's terraces on the 38th floor.

The place is phenomenal. (The copper fixtures in the bathrooms!)


And the food ain't too shabby either. I inhaled most of it before even thinking about taking a photo.


It was a great experience, but I digress.

Last week I also shared my disaster of a hallway, and plans for a cheap makeover.

I spent most of this week painting...and repainting.

And painting some more.

I am a huge advocate of "you get what you pay for", so why pray tell, did yours truly go out and purchase budget white paint? The mysteries of life. The moral of the story is, buy good quality paint to avoid having to apply 5 coats. After all, time is money.

Back to the matter at hand, I applied the final coat yesterday and the hallway is unbelievably brighter! Before and after several coats of white paint :


RIGHT?

It truly embarrasses me that I waited so long to paint it. It feels cleaner, and at night it actually looks like we have added an extra bulb to the light.

Now that that's done, I have begun to pay more attention to the ceiling. As I said last week I really like the idea of painting graphic stripes up there. It adds a bit more atmosphere to the tiny space and is easy to repaint when we move.

As you can see in the photo above, there is a tiny little soffit (which probably conceals a pipe), which I intend to use as my painting boundary. That little bugger annoys me to no end, so I'm ignoring it because painting it would draw even more attention to it.

I drew up a reflected ceiling plan to further gather my thoughts and make some decisions.


My initial thought was simple medium grey, evenly spaced stripes. Although I like the simplicity of it, I am conscious of committing to such a precise pattern. What if I make a mistake? Daunting.

So I thought about painting random stripes. It's so much easier to disguise mistakes with a random design!


I also like the idea of mixing medium grey with light grey stripes. So as for now, this is the plan. The ceiling plan is to scale (with the exception of the cupboard doors at the end of the hallway which I totally eyeballed. I always got into trouble for trying to eyeball everything instead of measuring when I was at university, but that's another story), which should make it easy - hopefully - to reproduce this pattern on this ceiling.

I even put it into 3d to better visualise it. 


So fingers crossed that I do not eff this up. I intend to buy the very best masking tape I can find, in hopes that I can redeem myself from the shame of the £7.99 paint (2 litres!) saga (an uneven drippy mess).

Wish me luck!

Sunday, 11 November 2012

When Peach Goes Wrong - The Hallway Edition

Today is a special day for me...


And it's been a really nice one so far. There's a Hummingbird Bakery behind our flat that I usually try to avoid like the plague (without great success)... but as the calories don't actually count on your birthday, I took the opportunity to stuff my face with red velvet cake. Shortly I will be heading to Sushi Samba in the Heron Tower where I will continue to do so.

What has really consumed my thoughts most of this weekend though, was our hallway.

When we moved in, we painted the entire flat leaving the hallway for last, as it was all one colour, and kind of nuetral (which tells you what the rest of the place was like). Except we never got around to it.

The hallway is a sort of peachy beige hybrid, gets little natural light, and is teeny tiny. And I do mean teeny tiny. There is also an issue of a "slightly larger than I would prefer" shoe cabinet that cannot be moved, less than attractive flush mount light fixture, and an entry phone straight out of 1995 that doesn't work (we're 2 flights up so throwing the keys out of the window to our guests outside has become the norm. Classy.)


Apologies for the grainy pictures, and this is when it's sunny!

Now I do love peach, but I love trendy peach. I love peach in lovely American sized rooms, with loads of sunlight streaming through the windows, bright white textiles and warm wood touches. Our hallway is nothing of the sort.

So whilst brainstorming, I began to think about how in some small spaces, bold patterns can really make a statement without creating visual clutter. Like this:

via Desire to Inspire
via Apartment Therapy
via Lonny
via Apartment Therapy

However as we're renting, anything I do, will have to be undone at some point in the future. So I need to keep it simple.

Then I got to thinking about painting stripes like these...

via Lonny
via Country Living
via Frisson Design


I did begin to worry though, that I have more doors (6 including the front door) than wall in the hallway, which would drastically break up any design....

Which led me to the ceiling. Oh, yes.

via Vintage Luxe
via Kiki's List
via Viva Cindy
via Design*Sponge

BINGO.

Our ceilings are pretty high, so at least I don't have to worry about that closed in effect that can occur when ceilings are painted.

I still need to consider colour, width, and spacing of the stripes. (Heck I haven't even figured out when I actually plan to do this, but the seed has been planted.) So any of your suggestions, thoughts or tips would be greatly appreciated!

Sunday, 28 October 2012

Halloween Inspired

Who knew creepy could be so stylish (Panton Chairs anyone)?

via decodir

Halloween, although more popular now than previously, still isn't a HUGE deal here in the UK.

My first Halloween in London was significant, purely because of it's lacklustre nature. I did nothing.

Having asked around about fancy dress parties, the reply was mostly a look of perplexity, almost as though I had 3 heads. Now however, it seems everywhere is decorated, and "trick or treating" is finally starting to take off.

So when I happened upon this post, I thought the chevron painted pumpkin looked simple enough to ease me into the world of "not-an-actual-holiday" decorating.

Incidentally, a few days later a friend of mine told me about her very first pumpkin carving experience, which sort of fueled me on.

Any DIY or crafts I decide to tackle must fit only two criteria:

1. Tools and materials must be able to fit up 2 flights of stairs and through the front door. Easier said than done in a building that's been standing since the early 1800's.
2. Must be affordable, which is relative and dependent upon number of Zara visits at any given time.

Bingo, chevron pumpkin passed the test.

So it was decided. On Friday after work, I would head to the supermarket and pick up a pumpkin to paint.

Except, after work I went to All Bar One instead...and then had an internal battle about whether or not a painted pumpkin was even worth a blog post (the thought that it wasn't made me feel less guilty about bailing for raspberry bellinis instead). But alas, the guilt was too much too bear, and yesterday I finally trotted over to Sainsbury's and bought a pumpkin.

The process was pretty straightforward:


And repeat...


Bish bash bosh, there she is!


I did like the way it looked with white tape - the third colour gave it a bit more definition, but unfortunately I had no white paint.

I will also let you in on a little secret: I didn't paint the back. Why? Because I'm lazy and no one will see it anyway. Just being honest.

So there you have it, a simple Halloween project that anyone can tackle. For more of an impact, I would recommend clustering in a group of 3 or 5.

Wednesday, 18 July 2012

Better Late than Never...

Hurrah, I have pulled my finger out!

On other blogs, the Pinterest Challenge ended more than a week ago. On this blog, I clearly dance to the beat of my own drum.

Kudos to my friend Linzi who put me to shame by completing two projects she found on pinterest (in about half the time it took me to even start mine.)

She made meringues from scratch as well as a headband for her adorable daughter out of a t-shirt! Very impressive. Martha, watch your back...

Photos | Linzi Knowles - Belton

My project, inspired by the photo below, ended up being so simple I'm slightly embarrassed about taking so long to actually...well, do it.

Photo | Alisa Burke


I have a never ending supply of water colour paper stashed in storage around our flat (read: behind the sofa and dining room table), as well as loads of paint, so this project was easy as well as cheap. Free in fact.

I drew a few guide lines on my paper and wrote this Swedish poem free hand (translation within link). No, I don't speak Swedish, but I do understand a bit of it (especially after a few drinks) Skål. See?

I used to do loads of calligraphy, so as I painted the words I tried to write as loosely and unstructured as possible (without being messy), so that it didn't look too formal.


I placed it on the floor next to the frame as it dried, but after a few minutes I decided I really liked it there as a part of the fireplace vignette.


Unlike other "art" projects I have tried my hand at, this was quick and painless. It was completed in about 15 minutes flat, and you know what? I LOVE it.


I will definitely be doing this again in the future, possibly on a super huge, over sized canvas, similar to my inspiration photo.

Related Posts Plugin for WordPress, Blogger...

Followers